Packing decisions
A room-by-room labeling system for moving boxes
A good box label answers three questions quickly: where should this box go, what kind of contents does it hold, and when will someone need it? It should also avoid putting private information where strangers can read it. You can build that system with a marker, tape, and a short inventory. The exact supplies matter less than using the same rules across the household.
Start before you fill the first box. Assign destinations based on the rooms in the new home, then write those destinations on a master list. If you have not seen the new home or do not know where something will go, use a temporary destination such as “decide later” and give those boxes a defined landing area. A label that confidently names the wrong room causes more work than an honest temporary one.
The system below is designed for a typical household move in the United States. Adapt it to the building, transport arrangement, and people handling your belongings. A household moving its own boxes can use more informal descriptions. If others will carry or unload them, make the destination and handling information legible at a glance.
Assign destinations before packing
Walk through the new home's floor plan, a room list, or your notes from a visit. Give each destination a short, unambiguous name. “Main bedroom” and “second bedroom” may work if everyone knows which is which. If two bedrooms look alike, use a physical cue such as “bedroom by stairs” or a number that matches a posted door sign.
Write the room names on one sheet and share it with anyone packing. A family member may call a room “office,” while the person unloading calls it “guest room.” Pick one official destination for labels and use it throughout. Informal names can still appear on the master list as translations, but a box should have one clear delivery instruction.
Think in terms of the new home, not the room where the item is currently stored. A coffee maker kept in a garage before the move probably belongs in the new kitchen. Holiday decorations in a bedroom closet may belong in storage. If you label only by origin, unloading becomes a second sorting project.
For uncertain items, create a real destination rather than leaving the label blank. “Sorting area” can be a spare room or marked corner. Limit its use. If half the household goes there, the label system has postponed too many decisions. Revisit that pile before move day if you can.
Choose the information on every box
Put the destination first and make it the largest line. Below it, add a brief category such as “baking tools,” “winter coats,” or “desk cables.” A category helps you find a box without turning the outside of it into a detailed public inventory. Add a box number or code so you can match it to a private list.
A practical label might read “KITCHEN / baking tools / K-07.” That tells an unloader where to put it and gives the household enough information to find it later. A handwritten category should be honest and broad. “Kitchen miscellaneous” on fifteen cartons may technically describe them, but it will not help when you need a can opener.
Add handling notes only when they change how someone should carry or place the box. “Keep upright” is useful if orientation matters and the box is actually packed for upright travel. “Heavy” can alert someone to a dense carton, although the box still needs to be packed within the carrier's limits and in a condition that can be lifted safely. Do not use “fragile” as a substitute for proper packing.
Mark an unpacking priority if it helps. “Open first” should be rare and specific. A dozen boxes with that instruction create no priority at all. Choose the few boxes that contain the first-night or first-workday essentials, then record them on your list so you can verify they arrived.
Use a box code you can actually maintain
A room prefix and sequence number are usually enough: K-01, K-02, and so on for kitchen boxes; B1-01 for the first bedroom; O-01 for an office. The code does not need to look like a warehouse system. Its job is to distinguish two boxes with similar outside descriptions.
Keep prefixes short but distinct. “B” could mean bathroom, bedroom, or basement. Use “BA,” “BR1,” and “BS” if those are your destinations. Test the codes by reading them quickly from several feet away. If a lowercase letter looks like a number in your handwriting, write the labels in clear block letters or change the code.
Number boxes when you finish packing them, not when you first set them out. That prevents a planned box number from disappearing when you change carton size or merge two groups. If you have already assigned numbers and a box is discarded, leave a gap in the list. Renumbering every later box creates avoidable errors.
An inventory can be a notebook, a simple spreadsheet, or a note on a phone. Record the code, destination, broad contents, and any priority note. If the box contains something you may urgently need, add enough detail privately to locate it. The code on the carton connects to that private detail without exposing it on the outside.
Do not rely on a device alone if the move will span a long day or several people. Save an offline copy or print the current list. Agree who will update it, because two separate lists that drift apart are worse than one modest list kept current.
Place labels where they remain visible
Label at least two sides of each carton and, when practical, the top. Stacked boxes may hide the top; a carton in a hallway may show only one side. Repeating the destination makes it easier to sort without moving every box to search for the writing.
Write on a contrasting label or tape if the carton surface is dark, glossy, or covered with older printing. Test whether the marker smears. Old product labels, barcodes, and previous move notes can confuse the current instructions. Cover or clearly cross out information that does not apply.
Put the label on a flat, clean part of the carton. Avoid a seam that may be cut open, an edge where tape may peel, or a spot covered by a carrying hand. If you use adhesive labels, press them down and check that they stay attached to the actual carton material. A label that falls off in the truck is no better than no label.
Do not hide all information beneath clear packing tape without testing the combination. Ink and tape can interact or glare under poor light. A sample label left overnight on the chosen carton is a simple way to see whether the writing remains readable.
If you use reusable bins, attach a removable label to each bin and put the code on more than one visible surface. Remove previous move labels. After unpacking, take the temporary labels off so the containers are ready for ordinary use without misleading markings.
Give each room a matching sign
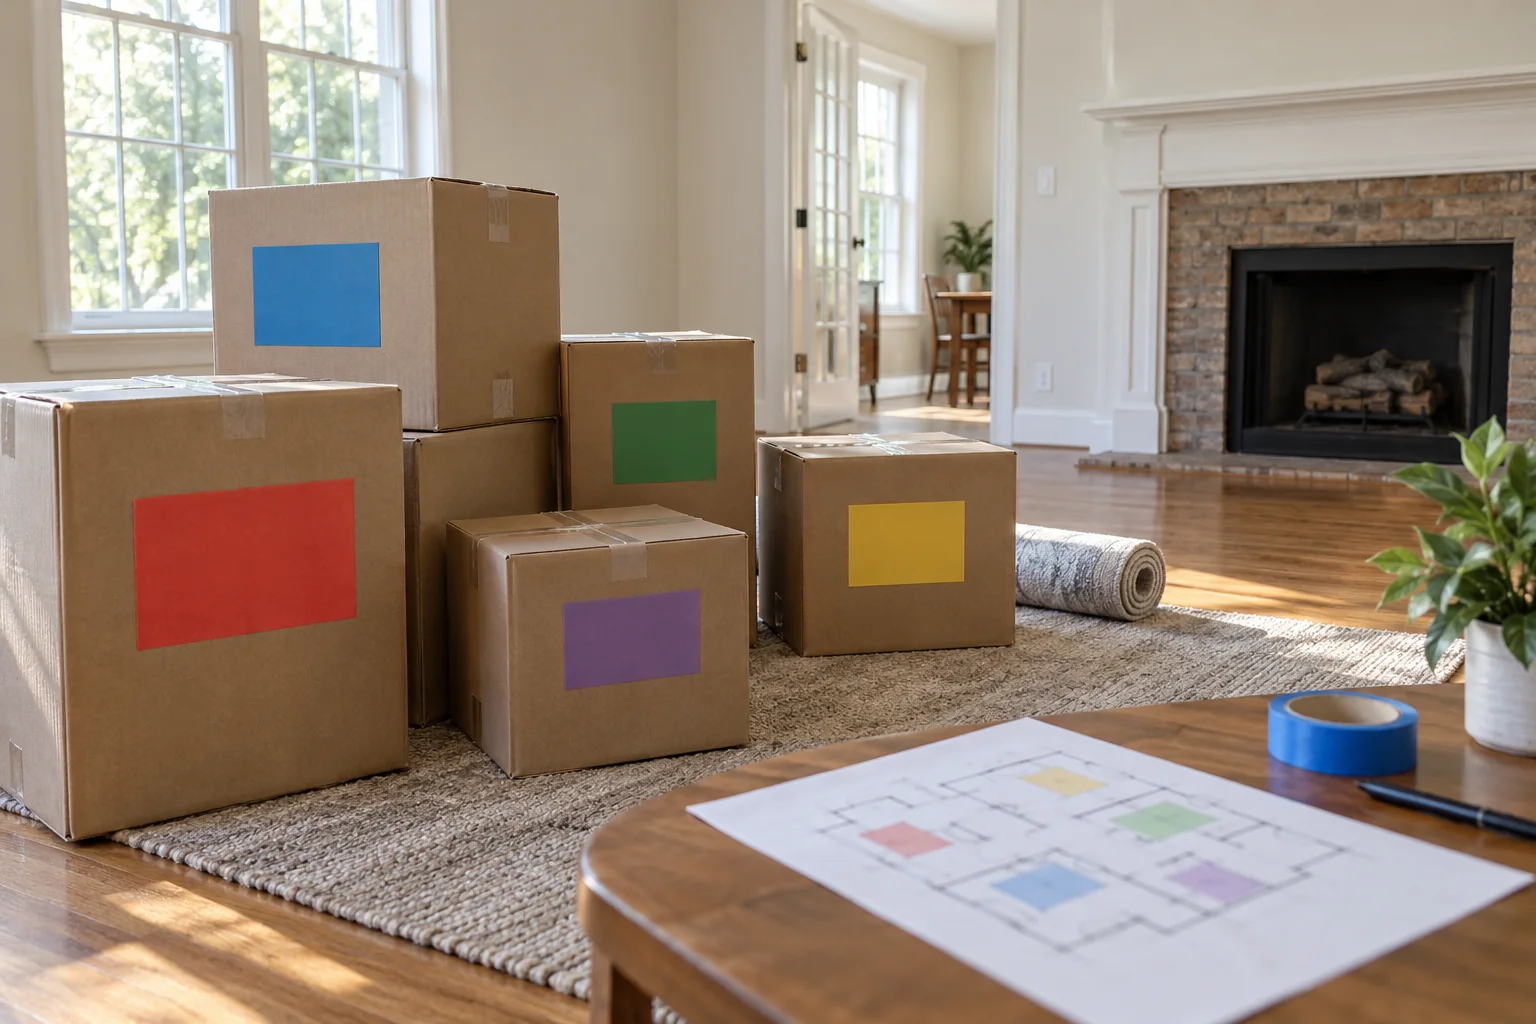
A destination code works only if the destination is identifiable. Put a temporary sign on or near each door in the new home using the same name or code on the boxes. Someone unfamiliar with the home should be able to match “BR2” on a carton with “BR2” at the door without asking for directions.
Check the signs before the first load arrives. A handwritten sheet on a closed door may be hidden when the door is propped open. Tape it where it will stay visible and where it will not damage a surface. If building rules restrict signs or adhesive, use a permitted placement. Keep walkways and door hardware clear.
For an open-plan home, mark a zone rather than pretending there are walls. “Dining area” can be a spot near the table, while “living area” is another. Explain any storage or sorting zone to the people unloading. A box that has no physical destination often ends up wherever floor space is available.
If a room changes purpose during planning, update both the master list and the signs. You may need to relabel already packed boxes. Do it before loading if possible. A single consistent instruction is faster than asking an unloader to remember that every box marked “guest room” now belongs in the office.
Keep private details off visible labels
Outside labels may be seen by neighbors, building staff, transport crews, or passersby. Avoid writing account numbers, passwords, medical details, full lists of valuables, or the precise contents of a box of personal documents. A private inventory can hold detail when you need it. The carton can say “personal files” with a box code.
Decide which items should travel with you rather than inside the ordinary moving load. Passports, financial documents, keys, medications, and immediate personal necessities may need a separate plan based on your circumstances and the transport arrangement. The guide what to carry with you instead of loading on the moving truck helps you make that decision before labeling anything for the truck.
Use discretion even with broad categories. “Electronics” or “home office” may be adequate for routing a box. You do not need to announce a specific device model on the carton. If a carrier requires an item declaration or has restrictions, give the required information through the appropriate process instead of relying on an improvised public label.
Keep the private box list accessible to the household but control who can edit it. If several people are packing, agree on how they will report new numbers and corrections. A list does not need elaborate security software to be useful; it does need accurate entries and sensible handling of personal details.
Label while packing, not after sealing the room
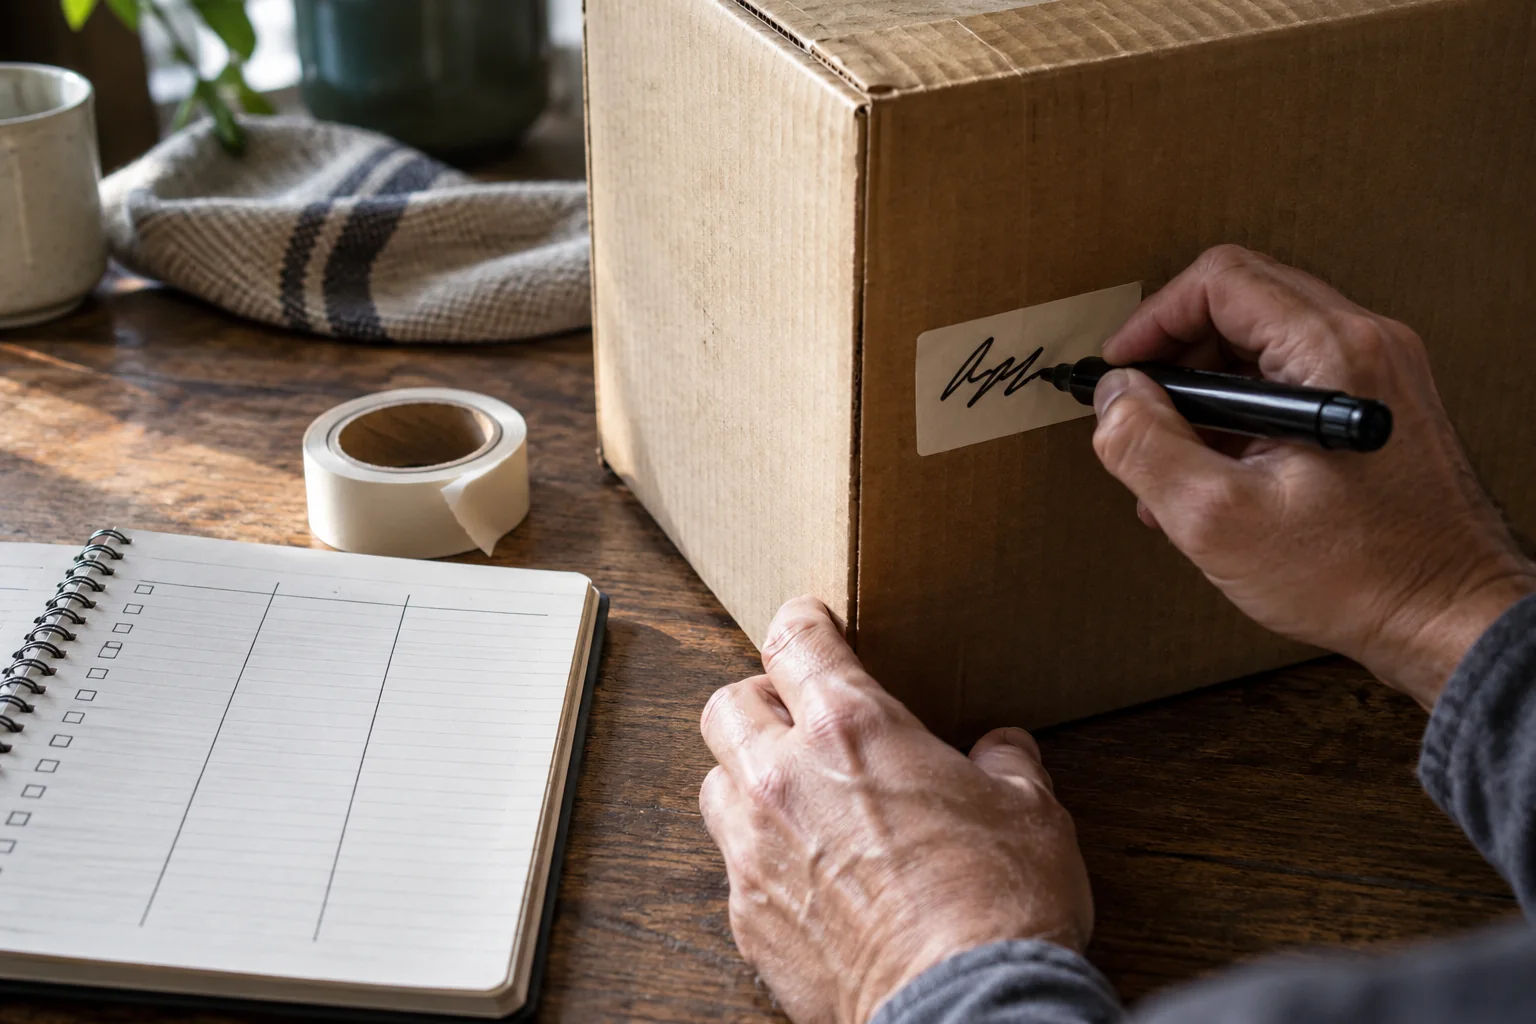
Set out the marker, labels, and room-code list before packing begins. When a box is filled, close it, assign its code, write the label on each chosen surface, and add its contents to the inventory. Treat those steps as one small task. A pile of sealed, anonymous boxes is surprisingly difficult to reconstruct later.
If you pause before sealing a box, use a temporary note that will not be mistaken for a finished label. People may continue adding things to an open box. The final list should reflect what is actually inside, not what someone expected to put there earlier.
Pack one related group at a time when practical. A box of kitchen utensils can have a useful category. A box filled with whatever happened to remain in three rooms is harder to describe and harder to unload. Sometimes mixed boxes are unavoidable. Record the mixed contents privately and choose the destination where most of them will be unpacked, or use the sorting zone intentionally.
For a shared household, assign someone to check the label before a box moves to the ready-to-load area. The check is brief: destination present, code unique, category helpful, no private detail exposed, and inventory entry made. Catching a missing label before loading is much easier than identifying the carton in a truck.
Separate loading notes from unpacking notes
A destination tells the unloader where a carton belongs. A handling note tells the carrier how to treat it. An unpacking priority tells the household when to open it. These are different instructions. Keep each one short and give it a consistent position on the label.
For instance, a box could read “BATHROOM / towels / BA-03 / open first.” The towel category may be enough to find it. If there is no special handling requirement, do not add one. Extra markings create visual noise and can make the important instruction harder to see.
Be careful with directional marks. If a carton must remain upright, pack and close it so the marked direction corresponds to the actual contents. Put arrows on more than one side if needed. A label cannot repair an unstable load inside the box. Follow the product and carrier guidance for items requiring special transport treatment.
If someone else will move the boxes, ask whether they have a preferred labeling or inventory method. You can still keep your household code, but it may need to coexist with the carrier's identifiers. Do not cover a carrier label with your own. Make a note linking the two systems if both will be used to check delivery.
Build an “open first” group deliberately
Select boxes based on the first few tasks in the new home: basic cleaning, making beds, preparing a simple meal, or setting up work equipment. The actual set depends on the household. A box marked “open first” should contain something needed soon and have a destination where you can reach it.
Record each priority code on a separate short list. At delivery, count those boxes and put them in accessible positions. A priority label is not useful if the box is buried behind a stack in a storage room. You may choose to transport some urgent items personally instead of labeling them for the moving load.
The packing plan for a kitchen can inform which cartons deserve priority. See how to pack a kitchen without losing track of essentials for a way to separate the utensils and supplies needed right after arrival from equipment that can wait.
Limit the priority group and revise it if circumstances change. A household with children, pets, mobility needs, or remote work may have different first-day needs. A list made weeks before the move should be checked again near loading, when actual travel and arrival plans are clearer.
Check the list at loading and delivery
Before the truck or vehicle is loaded, compare the labeled boxes in each staging area with your inventory. Look for duplicate numbers, missing destinations, and boxes that are packed but absent from the list. Fix them while you can still open or inspect the area easily.
A simple count by room can help. If the list shows nine kitchen boxes and only eight are in the staging area, determine whether one is elsewhere, already loaded, or mistakenly counted. A count is a reconciliation aid, not proof that every item inside a box is present.
As boxes leave, you can mark them loaded by code if the move is complex enough to warrant it. At delivery, mark them received. This is particularly helpful if the move uses more than one vehicle, an intermediate storage location, or separate unloading trips. Use the carrier's required paperwork and procedures as well; a household list should support, not replace, them.
When a code appears to be missing, check likely alternate locations before concluding a box was lost. A kitchen box may have been placed in a nearby pantry or in the sorting area. Record what you find while details are fresh. If a carrier handled the shipment and an item appears missing or damaged, follow the relevant reporting process and keep your records.
Make corrections visible
Labels are working notes, and plans change. If a box is repacked, replace or clearly correct its category and update the list. Do not leave two conflicting destinations on the carton. Crossed-out labels that remain readable can still misdirect someone moving quickly.
If you split one box into two, give the second box a new code and inventory entry. If two boxes become one, retire one code and note the change. Keep the history in the private list if it will help reconcile counts, but present only the current instruction on the outside.
If you discover that a code was used twice, change one immediately. A duplicate code makes your inventory ambiguous even if the boxes have different descriptions. Mark the change in the list and confirm that the updated label appears on each visible side of the carton.
After unpacking, use the code list to check off emptied boxes. It can help identify a carton that is still in a closet or storage area. Once the move is reconciled, retain the record only as long as it is useful to you. Remove temporary labels from reusable containers and recycle or store packing materials according to their condition and local options.
A labeling system succeeds when another person can put each box in the right place without a conversation, and the household can find important things without opening every carton. Start with destinations, use a short category and unique code, keep sensitive detail privately, and correct the record as boxes change. The consistency does most of the work.